Blog
How to Make a Perfect 3D Render Briefing : 8 Tips
When the need arises to hire a specialized service to outsource a portion of the work, doubts also arise about the best possible approach and communication to be able to clearly and explicitly explain the intentions and goals of the work.
A briefing for a 3D Rendering service is a package in which clients give instructions and ideas about a 3D image production project to a specialized artist or company. An effective briefing summarizes the project and provides all the relevant information needed to complete the job successfully.
A clear, effective and concise briefing for a 3D project is essential for the following reasons:
It aligns the 3D team with the client’s expectations
It makes it easier to achieve the desired results
Improves workflow and project management
Mitigates misunderstandings
Establishes a link between the 3D team and the target audience
Allows for fine-tuned budgeting
Throughout this post, you will find guidance on how to create an effective briefing for 3D services. We offer an easy and simple step-by-step guide to crafting the perfect briefing for a 3D rendering project:
Project Goal;
Project Documents and Information;
Target Audience;
Types of 3D visualizations;
Visualization Concept;
Finishings;
Details;
Timeframe.
1 –Identify the Project Objective
The goal of this project is to show “what” to “who” for “a desired outcome”.
The formula above sums up this point. It is important that this sentence is concise and says something valuable to the 3D team, and it is necessary to go beyond the obvious, using this sentence as a brief summary of the entire project, and providing a good introduction.
Structure the statement of purpose in a way that will answer key questions:
What type of real estate are you trying to showcase?
Who is the target audience?
What is the purpose you are trying to achieve?
2- Project Documents and Information
Traditionally a project communicates all its information through a package of written and drawn elements. Whether it is sketched, technical drawings, datasheets, maps, all the information that you can provide to the team responsible for the 3D images is an added value. All the information provided guarantees an accurate approach of the 3D images to reality, reducing both time and costs. Among the most relevant information is:
Plants, Sections and Elevations;
Implantations;
Landscape Project;
Illumination Plan;
Relevant Construction Details;
Photographic Survey;
Details of Stairs, Bathrooms, Kitchens, etc.;
Finishing Maps;
Specification sheets for equipment.
Any other element that you may consider relevant in the trustworthy production of the project. Remember that it is of utmost importance the validity of all the information you are delivering and that the 3D team must be warned in time for the chance of changes in the project’s follow-up.
3 – Describe the Target Audience
Knowing the goals of your target audience helps the artist understand what kind of rendering they would prefer to see. That’s why our next task in our briefing is to profile the ideal viewer.
Ask yourself these questions:
Who is the ideal target audience for 3D visualizations?
What are the requirements for that property / interior design?
Are there any kind of problems that you are trying to solve through architectural solutions?
Have there been any specific requests or recommendations that you have been given to create the design you want to visualize?
When it comes to architectural visualizations that have 3D promotional marketing as their goal, it is important that you share the key information and points of your client’s focus, such as:
Occupation and Annual Income
Values and Goals that impact purchases and decisions
Current housing situation
Interests, including the social media niche in which they are included and brands they identify with.
By sharing this type of information with the artist responsible for the 3D visualizations, it helps them understand the type of image and features they are after and leaves their target audience amazed.
4 – Selecting the Types of 3D Visualizations
Depending on the goals of your presentation, you have several types of 3D renderings available that you could choose to include. Along with the type of visualization you need, you should also think about the amount of images. The communication you want to maintain with your audience is of the utmost importance, often you tend to choose purely demonstrative images, in which you sacrifice composition and attractiveness to try to show the whole space in a few views.
Ask yourself the following questions:
What are the strengths of the project I want to show?
Should I dedicate some images to demonstrate these points and stand out from the competition?
What images are needed to communicate the project as a whole?
Should I insert the project into the surroundings or focus on the private spaces?
Remember that although it may require a larger investment, the images should aim to communicate and display your project in its best light.
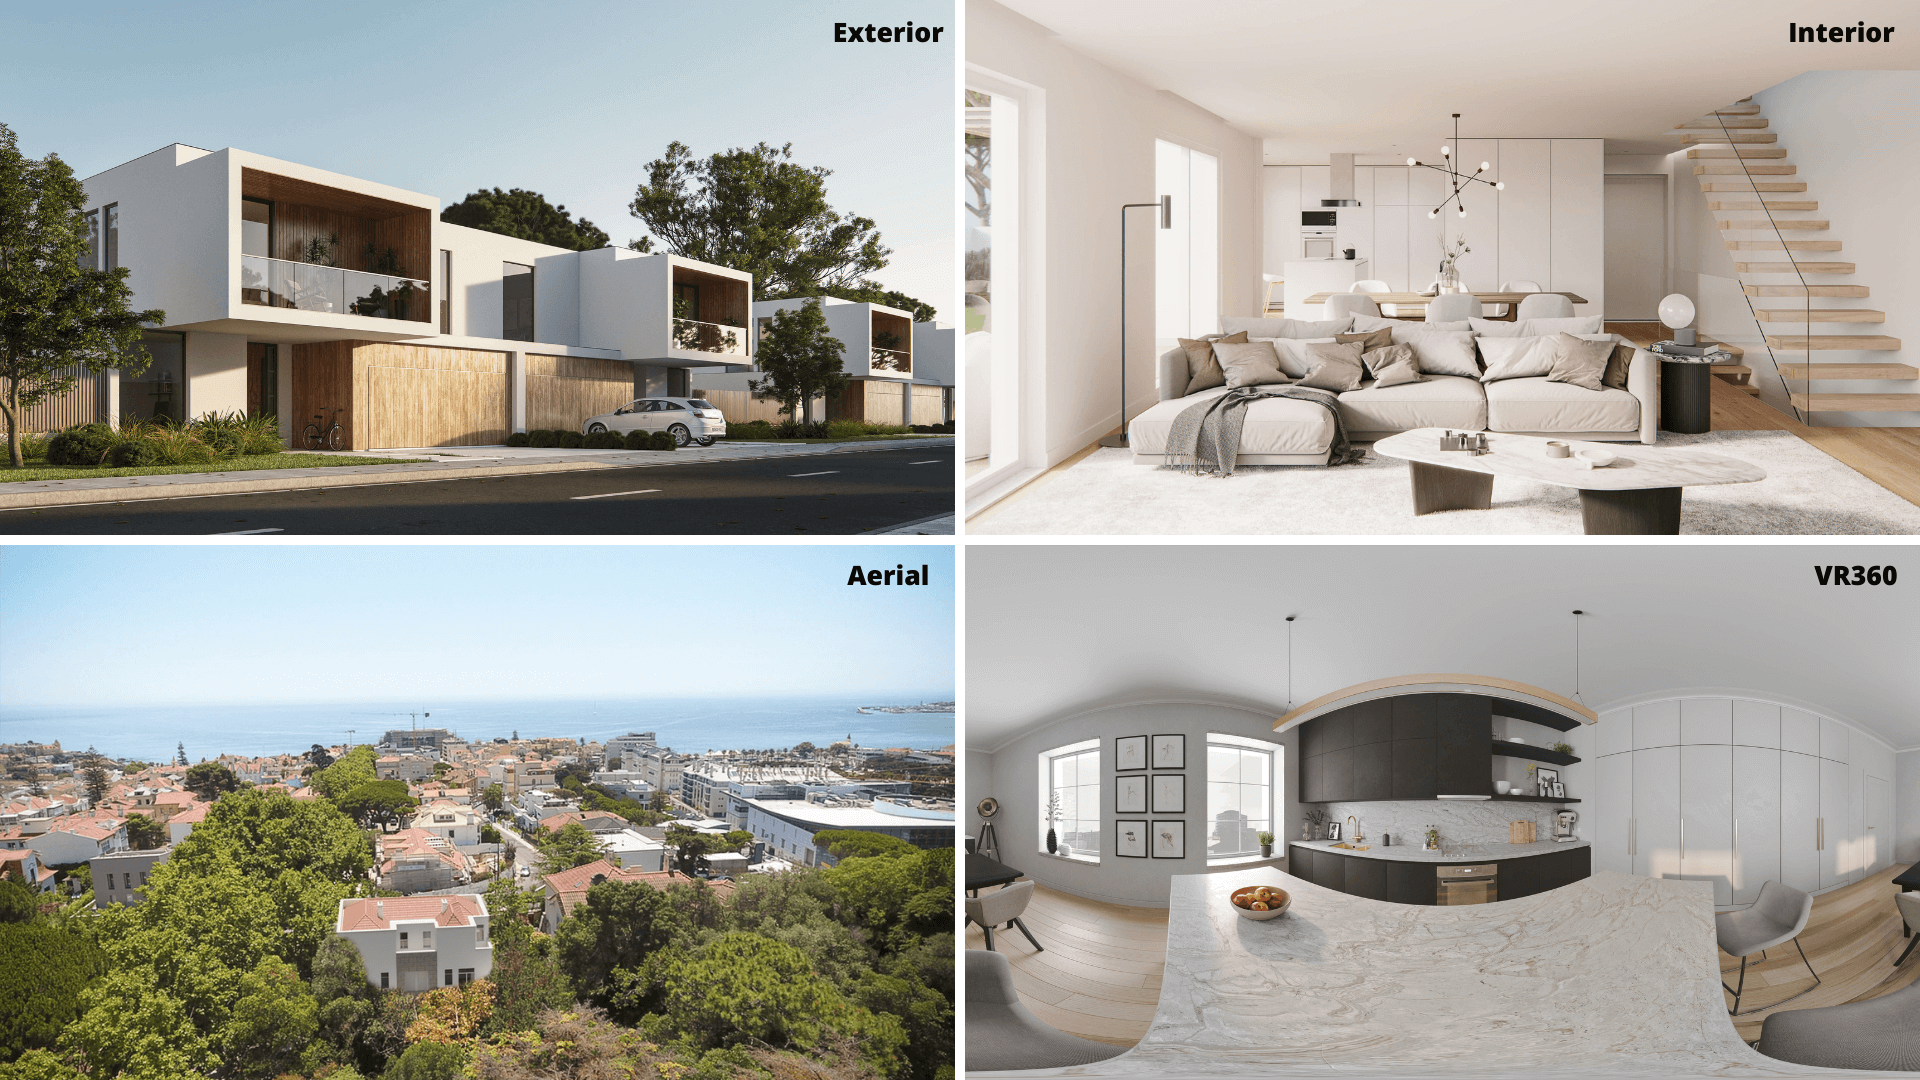
Exterior
This type of 3D image shows the building from the outside. It is especially relevant for the architecture and real estate development industry that want to present a new project. The exterior image can show detailed environments such as streets, fences, trees, vehicles and people.
Interior
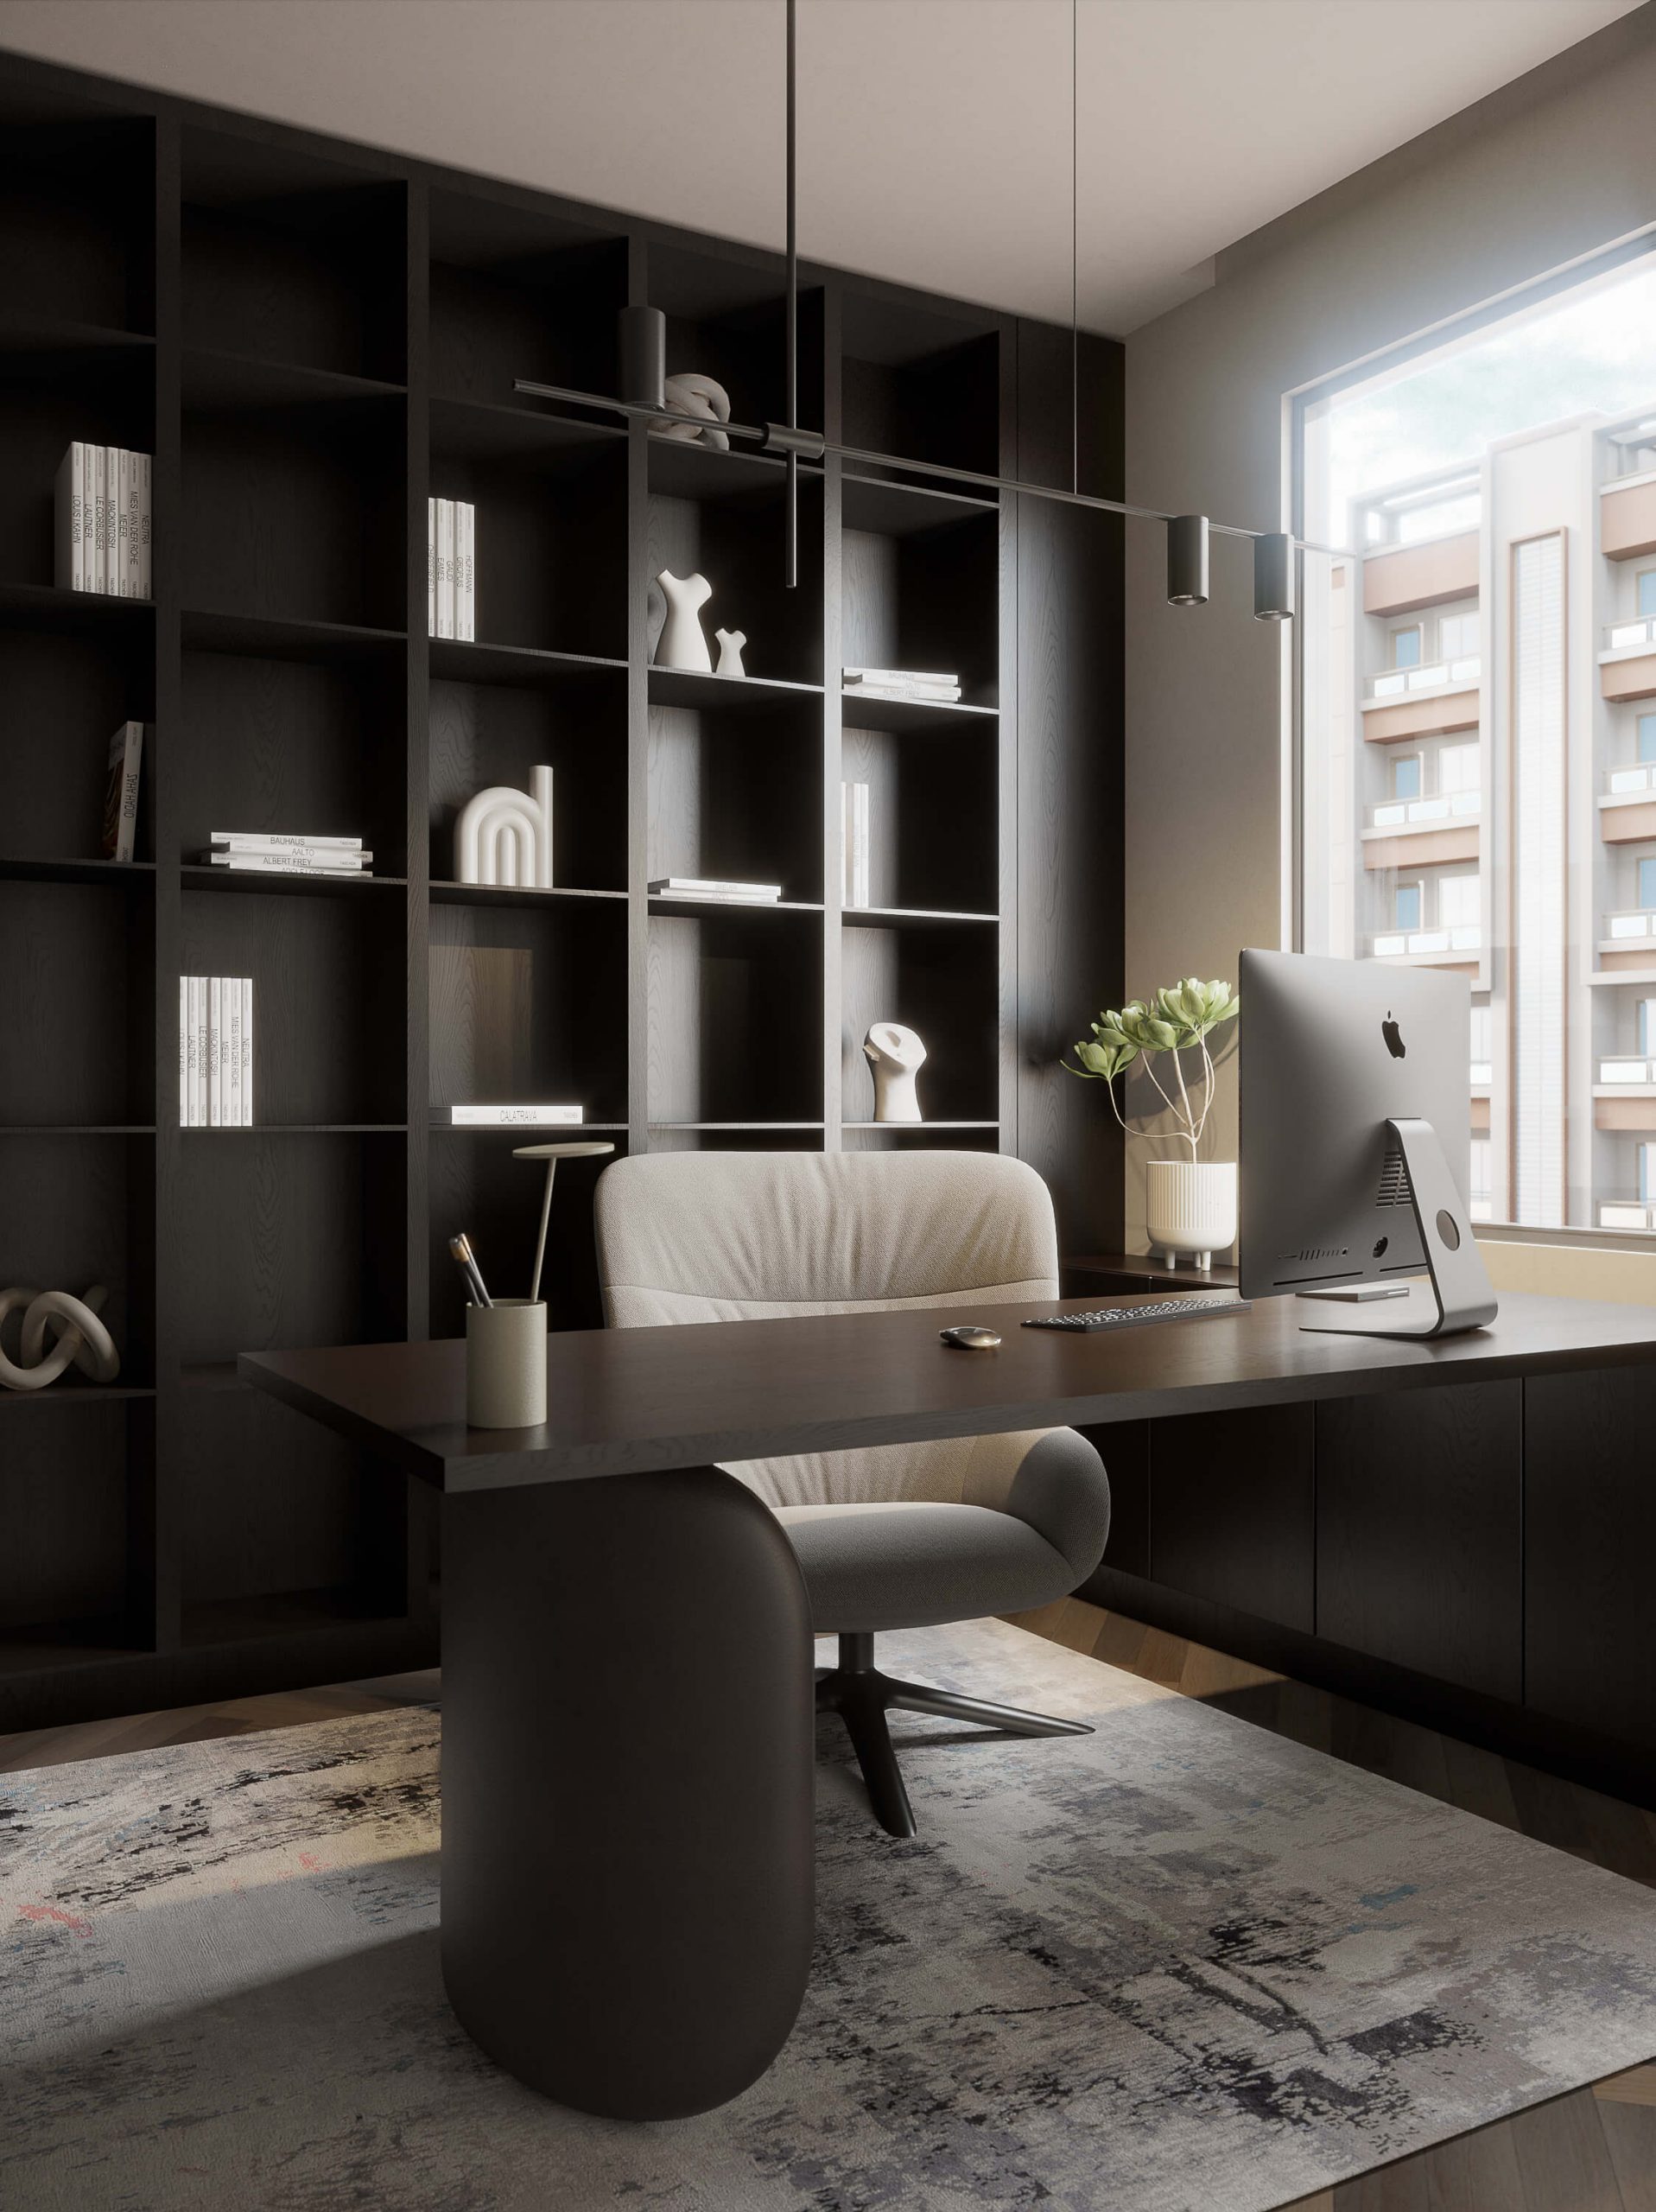
You can use interior views to portray rooms, apartments, or houses. Realistic 3D images are highly effective in providing an immersive experience because they show furniture, colors, light, materials, and other details.
Aerial
Displays a building from an aerial view in order to visualize how it fits into the neighborhood. Whole or most of the building’s structure is visible, along with landscape features.
Humanized Floor Plan
Showing clients the floor layout helps them understand the layout and size of the place. You can make suggestions about how to plan furniture and other objects on the floor plan, or discuss these details with clients.
Animation
To give clients a strong sense of the property’s features, designers use animation software to animate the visuals. This type of presentation leads the client through the site, while focusing on the most important features. For clients, it is a perfect opportunity to see what it would be like to live inside the property.
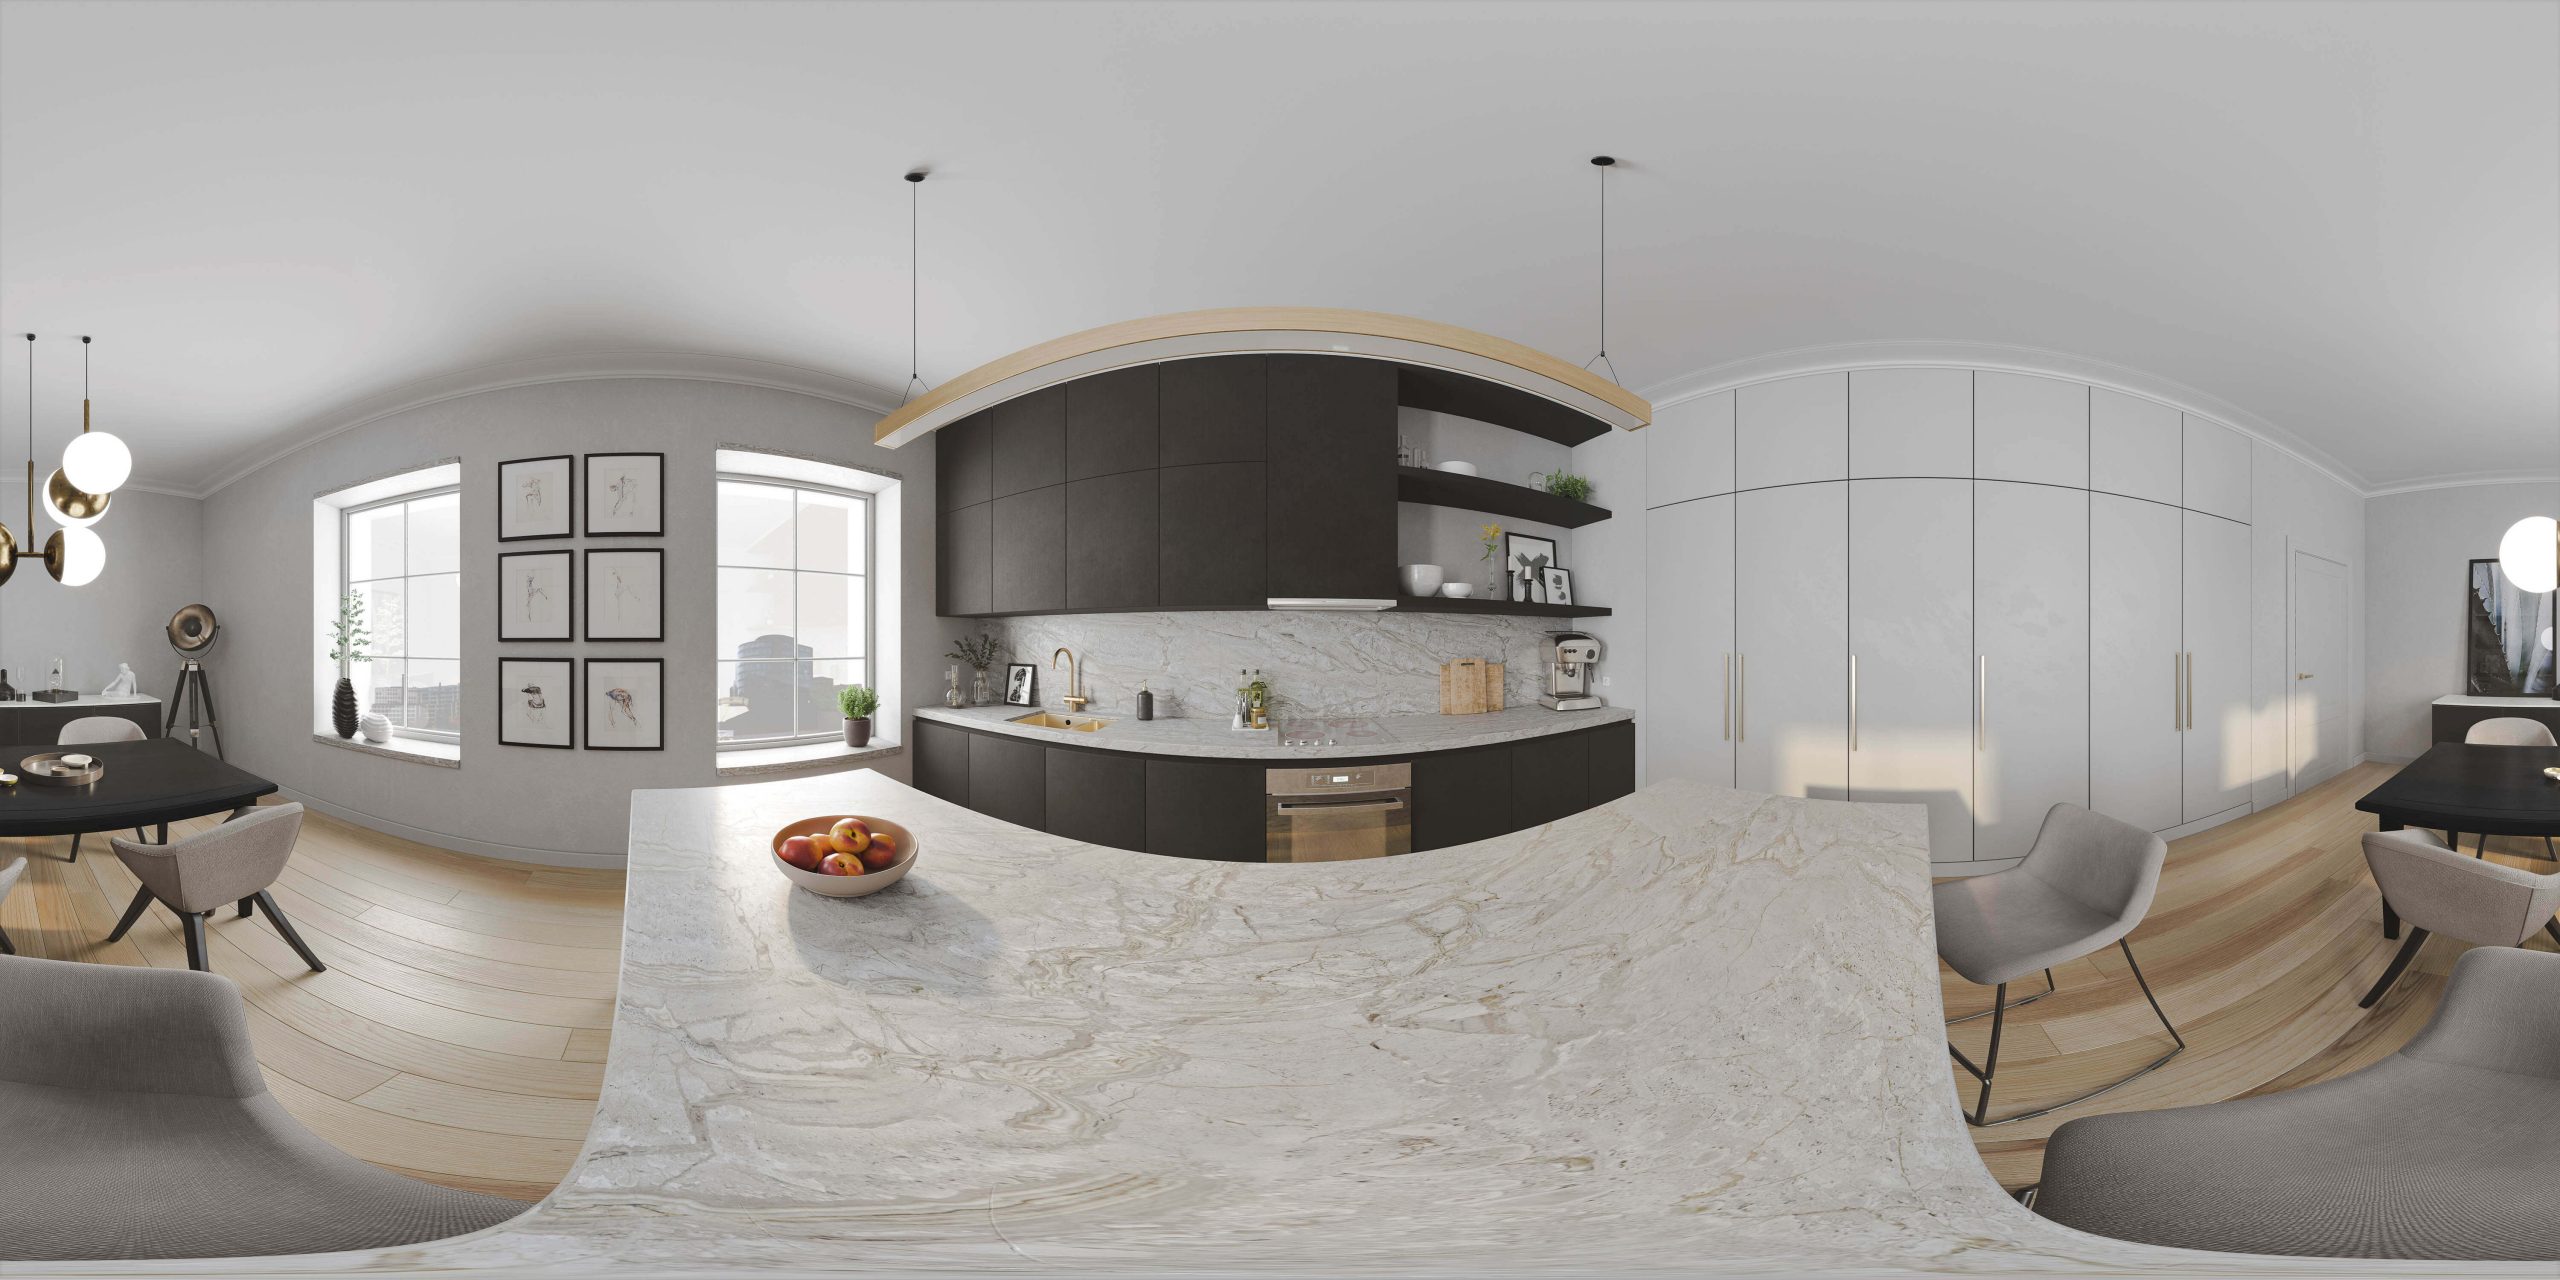
VR360
The Virtual Tour is a powerful tool that allows us to experience the unbuilt space in a new way. It can offer an incomparable, unique and immersive experience, showing clients what it is like to be in the future.

5 – Describe the Specifications
The concept and specifications are basically a description of what is expected from 3D images. This describes exactly what the final images should be reflecting and how they should help achieve the goals of the project. Ultimately they should clarify the following points:
The style of the images
The required resolution and formats
The intended camera angles and viewpoints
The display of people, vehicles or other elements or objects deemed relevant;
The weather and surroundings conditions.
How to describe these points?
Try to answer by using a bullet points list or by using reference images. This helps clarify ideas and organize the documents in an orderly way.
A common example is the case of the surrounding environment. It is crucial to decide whether the building will be represented in its real environment or in a conceptual setting, whether this setting should be by photo-montage on site or by proper modeling of the environment.
6 –Finishing Identification
Photorealistic 3D images require careful and detailed planning. It is of the greatest importance that the artist specifically understands the finishes and details desired in the portrayal of the space. The inclusion of detail drawings and detailed finish listings is of the highest importance. Even better when accompanied by specific reference images. The same applies to specific furniture and equipment needs. Through these references, the artist can extract specific tones and colors and more easily get closer to the image he expects.
7 – Add Small Details
One of the reasons why 3D images are so popular is because they have a large amount of detail. This allows for a stronger opportunity to emotionally connect your customers.
Adding details that reflect the experience of the spaces stimulates the customer’s imagination. Adding a cup of coffee or a book on the table gives a layer of realism and emotional connection. It encourages your clients to imagine themselves working in that office, reading a book while relaxing at the end of a long work day.
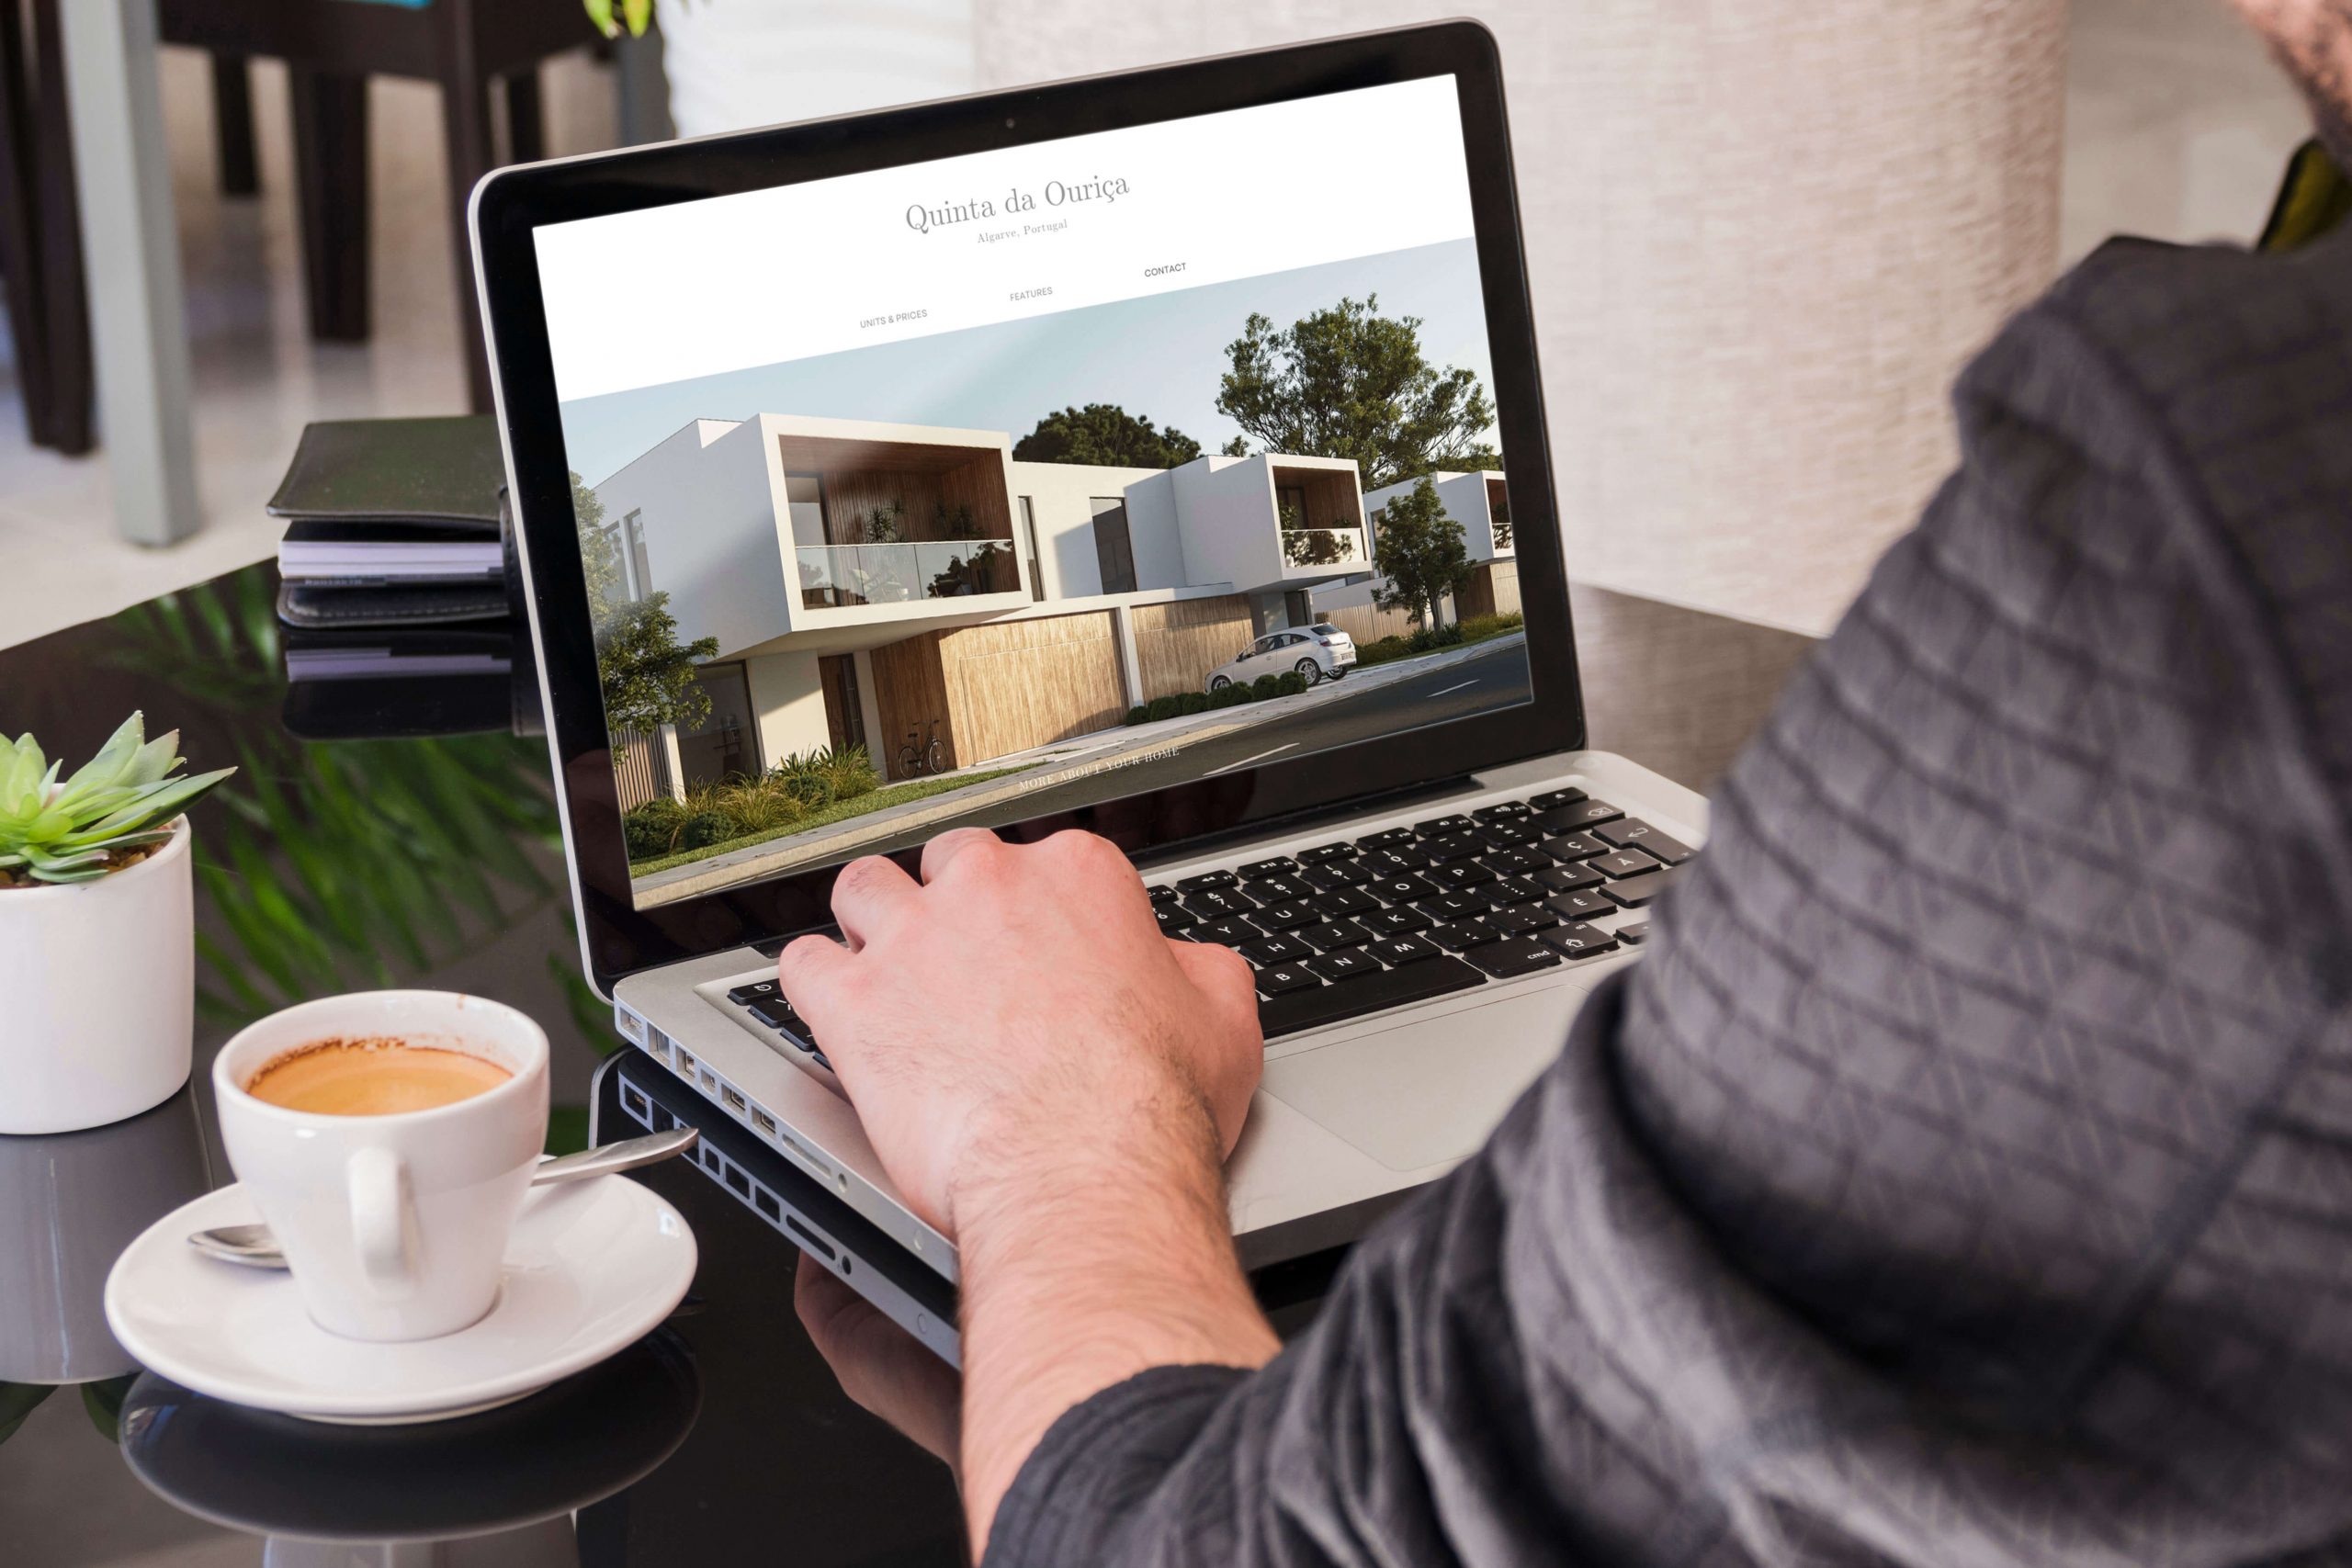
Consider sharing these visualizations on social media as part of your content marketing campaign. It’s a great way to impress potential clients and showcase your designs to large crowds.
8 – Specify Deadlines
If your architectural project has deadlines, please include the deadlines in your briefing. This will help organize work to deliver the visualizations by the specified date.
Be sure to set realistic deadlines. Depending on the type of rendering, creating a single visualization can take anywhere from a few hours to a few days. So if you need something urgent, let the designers know straight away.
9 – Don’t Forget Additional Materials
Are there any extra materials that can help the 3D render designer do a great job? From 3D renders, 3D models, videos, drawings, animations, diagrams, objects, photos, descriptive texts or any other files or elements related to your project. Remember that the more relevant information you provide to the 3D team, the closer the final result will be to meeting your expectations.
All these additional materials help the 3D team to understand your vision and create a 3D rendering according to your vision. In any case, it is important to consult with the 3D designer or the 3D company to whom you will deliver the service and ask what elements are required and the information that will be most useful to them.


